Struggling to know when to replace your mason bee tubes? Using old tubes can harm your bees[1], but buying new ones costs money. The key isn’t a strict schedule, but simple inspection.
You should replace mason bee nesting tubes when they pose a risk, not on a fixed schedule. After each season, inspect tubes for damage like sogginess, mold, or tiny holes from parasites[2]. Always replace compromised tubes to prevent disease and ensure your bee population stays healthy and productive.
Many of our customers ask for a simple timeline, like "replace every year" or "every two years." But the truth is more complex. As a manufacturer of paper tubes, I see firsthand how different conditions affect their lifespan. The real answer depends on what the tube is made of, where you keep it, and what’s living inside. To help you make a smart decision, we need to look at each of these factors. This will give you the confidence to know exactly when a tube is a risk and when it’s safe to reuse.
Do you think all paper tubes are the same? Thin, poorly made tubes can fall apart quickly, risking your bee cocoons. Choosing tubes based on material quality is the first step to safety.
High-quality tubes made from thick, dense paper with water-resistant glue last longer. They resist moisture damage and prevent parasitic wasps from chewing through[3]. Cheaper, thinner tubes degrade faster, become soggy, and offer less protection, often needing replacement after just one season.
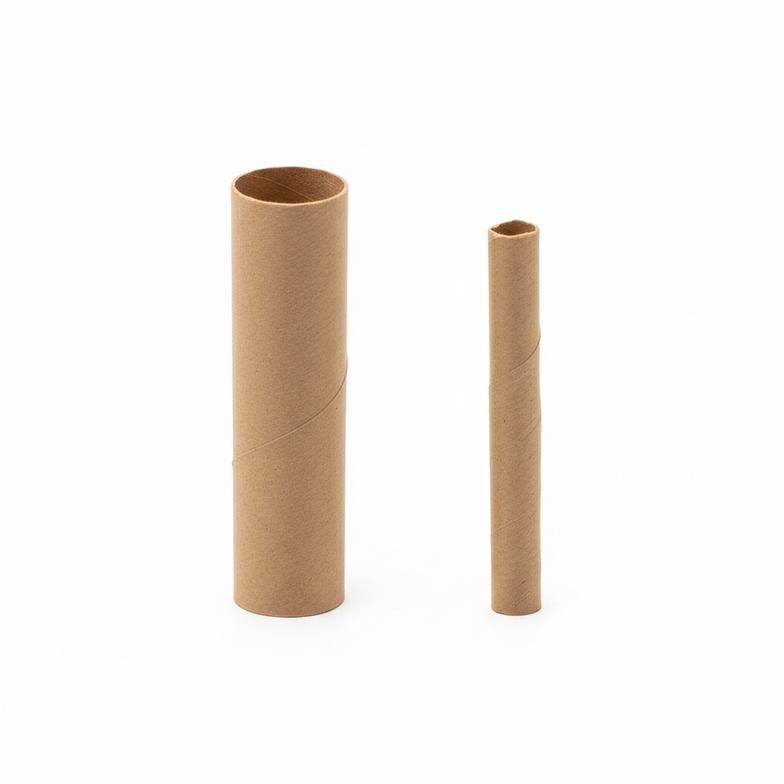
We often get questions from growers about why some tubes disintegrate after one rainy spell. It almost always comes down to the paper and the glue. A thin paper tube is cheap to make, but a parasitic wasp can chew through it more easily. A denser, thicker paper creates a much tougher barrier for pests. It’s not just about thickness; it is about how tightly the paper fibers are packed. The same is true for the glue. Some glues are water-soluble. They will weaken in high humidity and cause the tube to lose its shape or unravel. From my experience in manufacturing, tubes made with a food-safe, water-resistant adhesive are best. This ensures the tube stays strong even when the air is damp. This small detail makes a huge difference in protecting the developing bees inside.
| Feature | Low-Quality Tube | High-Quality Tube |
|---|---|---|
| Paper | Thin, low density | Thick, high density |
| Durability | Prone to tearing and sogginess | Resists moisture and pests |
| Glue | Water-soluble, weak | Water-resistant, food-safe |
| Typical Lifespan | Often just one season | Can last longer with care |
You set up your bee house, but did you put it in the right spot? Rain and high humidity can quickly ruin your nesting tubes. This leaves your bees exposed to harm and disease.
Direct rain and high humidity are the biggest threats. They cause tubes to become soggy and grow mold. Too much sun can also make the paper brittle. To extend tube life, place your bee house under an eave or overhang[4], where it is protected from rain and hot afternoon sun.
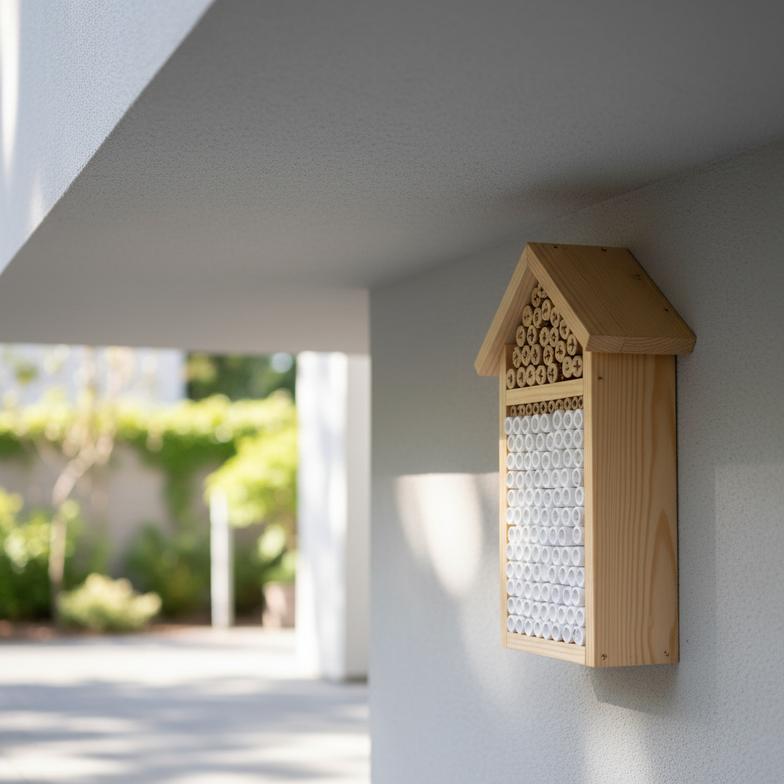
From a material standpoint, water is the number one enemy of a paper tube. When paper fibers get wet, they swell and lose their structural bond. This is why a soggy tube feels soft and can tear easily. Even in a protected bee house, high ambient humidity can be enough to weaken a tube over a season. This moisture also creates the perfect breeding ground for mold, which is very harmful to bee larvae[5]. The sun is another factor to consider. Over time, UV rays break down the fibers in the paper[6]. This makes the tube brittle and more likely to crack or split. I always advise customers to think of the bee house as a shield. It should have a deep enough overhang, maybe 2-3 inches[7], to keep rain from blowing inside. Placing it to catch only the gentle morning sun[8] helps dry out any overnight dew without baking the tubes all day. This simple care drastically improves the lifespan of your tubes.
Your tubes might look fine from the outside. But inside, invisible pests and diseases like chalkbrood[9] or parasitic wasps could be wiping out your bees. Learning to spot the signs is vital.
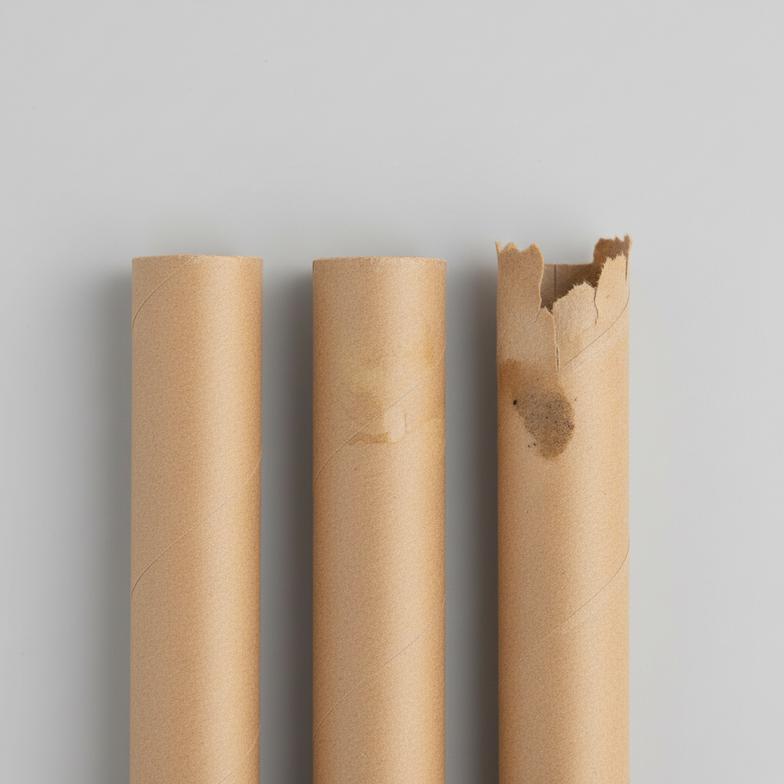
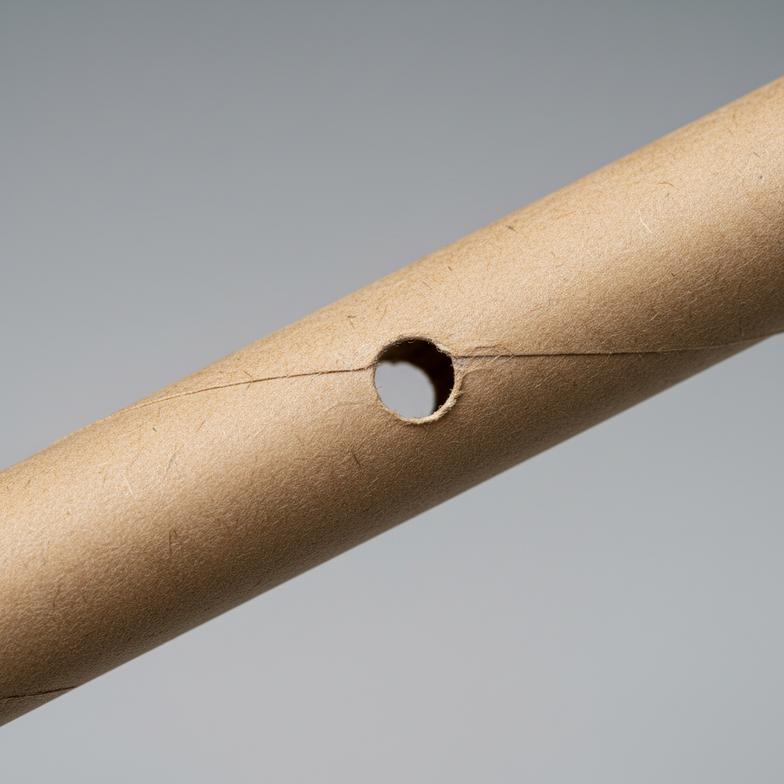
Inspect harvested tubes for signs of trouble. Look for chalky white or black residue (chalkbrood)[10], small holes on the side of the tube (parasitic wasps), or fuzzy mold growth. If you see any of these signs, you should discard the tube to prevent contamination.
This is where the "replace every year" advice comes from. It is a simple rule to avoid the risk of disease building up. But you can be more precise with a quick inspection. When you harvest your cocoons in the fall, it’s the perfect time to evaluate the empty tubes. I am not a bee expert, but our customers who manage large bee populations use a simple risk assessment. They teach their staff to look for a few key things. We have compiled their feedback into a simple checklist to help you decide. The cost of a new tube is tiny compared to the cost of losing a large part of your bee population[11] to a preventable disease. When you are in doubt, it is always safer and more economical in the long run to just replace the tube.
| Sign | What it Might Mean | Action to Take |
|---|---|---|
| Dark stains or discoloration | Moisture damage, potential mold | Replace Tube |
| Soft or soggy texture | Structural failure from water | Replace Tube |
| Tube is misshapen or unraveled | Glue failure, physical damage | Replace Tube |
| Chalky white/grey/black dust | Possible chalkbrood fungus infection | Discard tube and infected cocoons |
| Tiny holes on the side[12] | Parasitic wasps have emerged | Replace Tube |
In conclusion, replace your mason bee tubes based on careful inspection, not just a calendar. Check for material weakness, mold, and pest damage annually to ensure a healthy bee population.