Getting custom logo printed filter tips for your brand seems straightforward, right? You send your logo, they print it. But if you’re new to this, you might worry about the process. What if the logo comes out blurry, the colors are wrong, or the whole batch is delayed because of a simple file error? These aren’t just small hiccups; they can make your brand look unprofessional and cost you money. The good news is, by understanding a few key artwork and printing details upfront, you can avoid these headaches and ensure your final product is something you’re proud of.
To get professional-quality logo printed filter tips, you must provide a vector artwork file (like .AI, .EPS, or .SVG) for your logo. For accurate brand colors, you need to specify a Pantone (PMS) color code, not just rely on what you see on screen. Finally, you must confirm critical printing details like the use of food-grade ink and approve both a digital mockup and a physical sample before mass production begins.
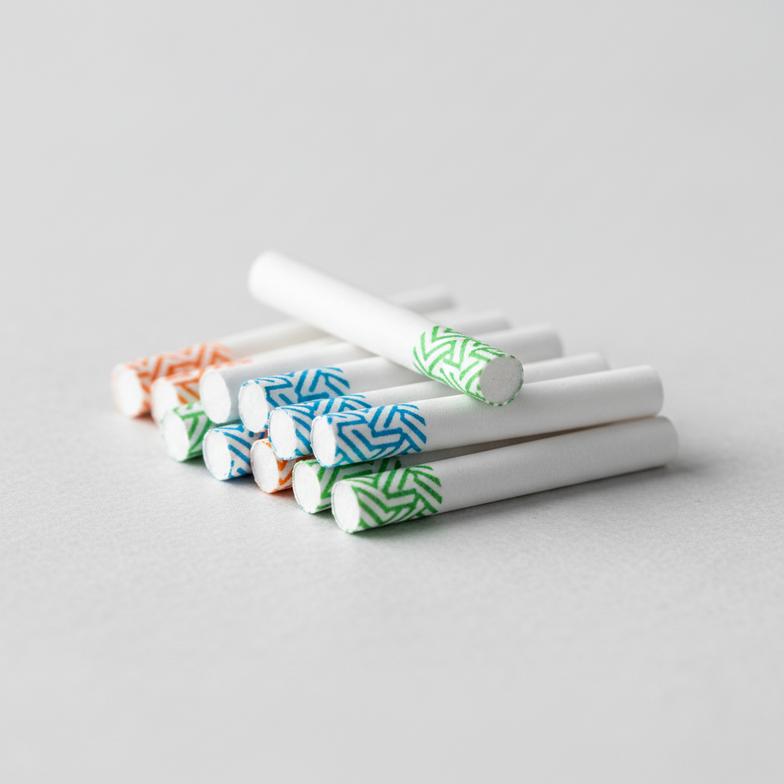
Knowing what to provide is the first step. But why are these specific files and codes so important? Let’s dive into the details that separate a professional-looking filter tip from a disappointing one. Understanding this will help you manage the process and protect your investment.
You have your logo ready to go—maybe it’s a JPG or a PNG file you use on your website. It looks great on your screen, so why is your supplier saying they need something called a "vector file"? This is a common point of confusion, but it’s the most critical factor for print quality.
The short answer is that for a logo to be printed cleanly, especially on a small item like a filter tip, it needs to be in a format that can be resized without losing quality. That’s what a vector file does.
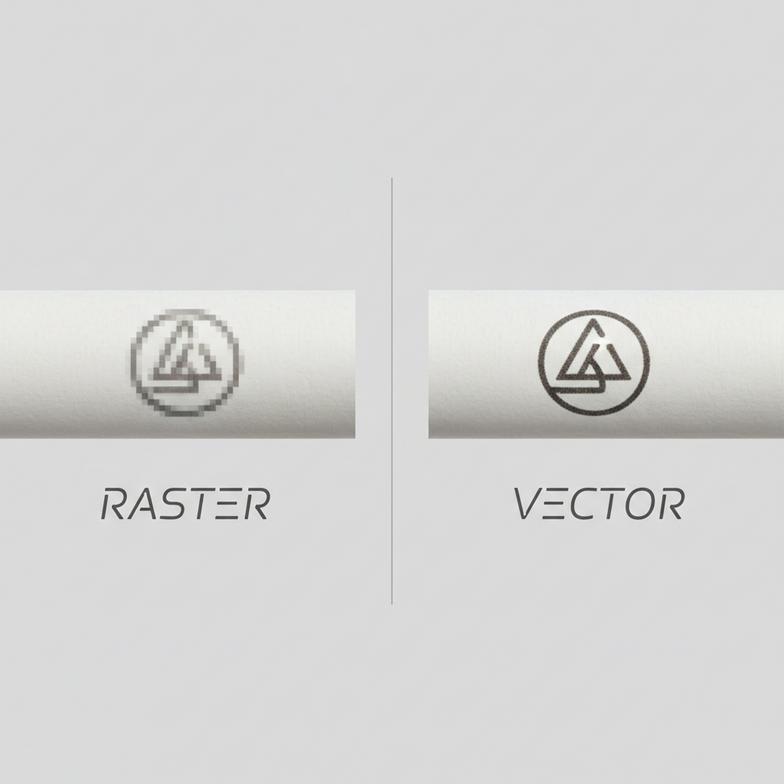
Let’s break this down. Most image files you see online, like JPEGs, PNGs, and GIFs, are raster images. Think of a raster image as a mosaic made of thousands of tiny colored squares called pixels. It looks great at its original size. But when you try to make it bigger or smaller, the computer has to guess where to add or remove pixels. This is why a logo pulled from your website looks blurry and "pixelated" when you try to print it. The edges become jagged and unprofessional.
A vector file, on the other hand, is completely different. Common vector formats include .AI (Adobe Illustrator), .EPS, and .SVG. Instead of pixels, a vector file uses mathematical equations to draw lines and curves. Think of it like a set of instructions: "draw a perfect circle here, a straight line there." Because it’s based on math, you can scale a vector logo to be as tiny as a filter tip or as huge as a billboard, and it will always be perfectly sharp and crisp.
Based on my experience handling hundreds of custom orders, the most frequent cause of delay is a client providing a low-resolution raster file. It’s a simple mistake that can halt production for days while we wait for the correct file.
Sending a JPG or PNG for your logo printed filter tips creates several problems:
So, how do you get this all-important vector file? 1. Contact Your Original Designer: The graphic designer who created your logo will have the original source files. Simply email them and ask for your logo in .AI, .EPS, or .SVG format. This is a standard request they will be happy to fulfill. 2. Check Your Brand Files: If you have a folder with your company’s brand assets, look for these file extensions. 3. Vectorization Services: If you can’t find the original designer, some suppliers (including us) can "vectorize" or redraw your raster logo for a small fee. It’s an extra step, but it’s essential for a professional outcome.
You’ve spent a lot of time and effort choosing the perfect colors for your brand. Now you’re worried that the vibrant blue on your screen will turn into a dull, generic navy on the final filter tips. This is a valid concern, and it happens when color isn’t specified correctly.
To guarantee your brand’s colors are reproduced exactly, you need to use the Pantone Matching System (PMS). Providing a PMS code is the only way to ensure color consistency across every print run.
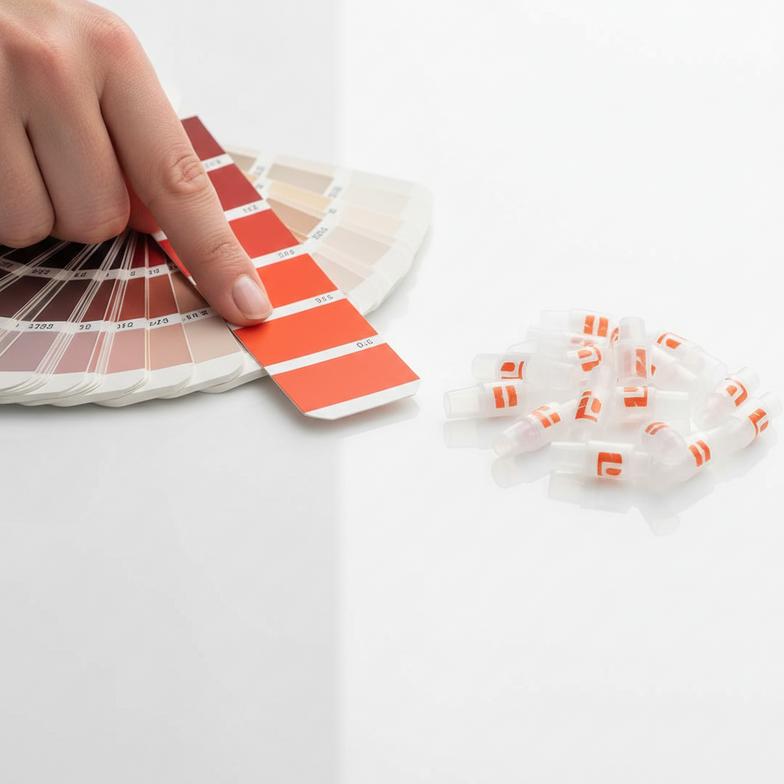
Most printers use one of two color systems: CMYK or Pantone.
For brand consistency, Pantone is always the superior choice. It ensures that the color of your logo printed filter tips will be identical today, next month, and next year, no matter where they are printed.
A common mistake is assuming the color on your computer or phone screen will match the printed color. Screens create color using the RGB (Red, Green, Blue) model, which works with light. Print works with ink. What looks bright and glowing on a screen can often appear duller when printed on paper.
A PMS code acts as the universal translator between your screen and the printer, guaranteeing the final ink color matches your brand’s official standard.
If you worked with a professional designer, your brand style guide should list the PMS codes for your official brand colors. If you don’t have a style guide, ask your designer for the codes.
If you don’t know your PMS code, don’t just guess! Let your supplier know. We often help clients by taking their vector logo file and using our software and swatch books to identify the closest PMS match. We then confirm this with you before proceeding. It’s an essential step for getting the color just right.
You’ve prepared your vector file and have your PMS code. You’re almost there! But great printing goes beyond just the logo and colors. You’re creating a physical product that people will use, so a few more details are critical for safety and brand perception.
You should always ask your supplier about the ink they use and the finish they can apply. These choices directly impact the user experience and the safety of your product.
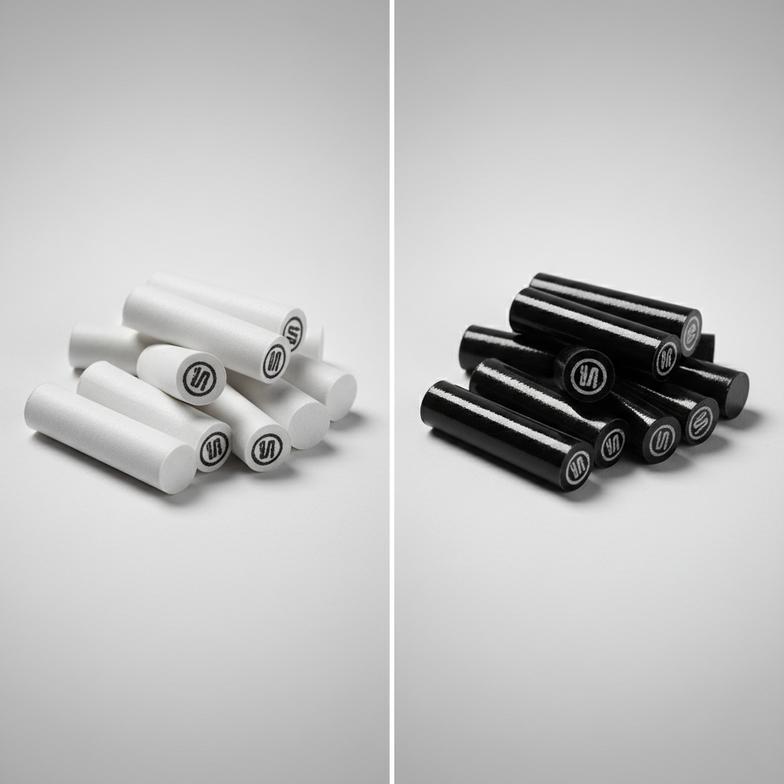
This is something many brands overlook, but it’s incredibly important. A filter tip is a smoking accessory that comes into contact with a user’s lips and hands. The ink used must be safe and non-toxic.
Always ask your supplier what kind of ink they use. Look for options like:
A reputable supplier will be transparent about this. Ask them to provide safety documentation, like a Material Safety Data Sheet (MSDS), for their inks. If a supplier is hesitant to share this information, consider it a major red flag. At PaperStrawTech, providing these documents is a standard part of our process to ensure our clients’ peace of mind.
The finish of the ink can subtly change the look and feel of your brand. The two most common options are matte and glossy.
There is no "better" choice; it’s purely about what aligns with your brand’s personality. Discuss these options with your supplier and ask to see examples if you’re unsure.
Your files are sent, and the details are confirmed. The factory is ready to go. You might be tempted to say, "Just print it!" to save a few days or a small sample fee. This is the single biggest and most costly mistake you can make.
The proofing process is your final safety net. It’s your one and only chance to see exactly what you’re getting before you commit to producing thousands of units. It is not a step you should ever skip.
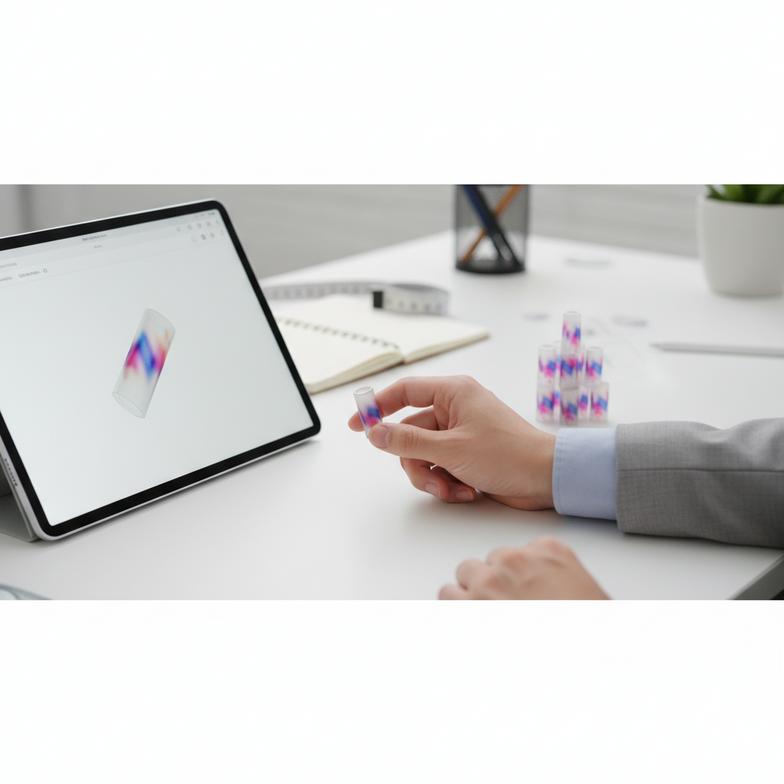
A professional printing journey always involves these approval stages:
1. Digital Mockup: First, the supplier will send you a digital proof, usually a PDF. This is a 2D layout showing your logo’s size, placement, and colors on the flattened filter tip template. Your job here is to check for spelling errors, ensure the placement is correct (e.g., centered), and confirm all the details are right. 2. Physical Sample: Once you approve the digital mockup, the factory will produce a small number of physical samples and ship them to you. This is the most crucial step. Holding the actual product allows you to check things a screen can’t show you: the true printed color, the sharpness of the logo, the feel of the paper and ink, and the overall quality. 3. Mass Production Approval: Only after you have held the physical sample in your hand and given your final, written approval does mass production begin. This ensures that the thousands of units you receive will be identical to the perfect sample you signed off on.
I get it, deadlines are tight. But skipping the physical sample to save 7-10 days is a huge gamble. I once worked with a client who was in a hurry for a trade show. They approved the digital mockup and waived the physical sample to speed things up. When the full order of 50,000 filter tips arrived, the main brand color was a shade darker than they had envisioned. It wasn’t "wrong"—it matched the code—but on that specific paper, it just didn’t look the way they wanted.
They had to use them for the show, but they weren’t fully satisfied. The small shipping fee and one week of waiting for a sample would have given them the chance to adjust the color and get it perfect. It’s a lesson in risk management that we now share with all our new clients.
The best and only truly acceptable formats are vector files. This includes .AI (Adobe Illustrator), .EPS, or .SVG. These files ensure your logo is perfectly sharp at any size, which is critical for a small item like a filter tip.
First, contact the graphic designer who originally created it; they will have the source file. If that’s not possible, many suppliers (including us) offer a "vectorization" service where we can professionally redraw your logo in a vector format for a small fee.
Typically, producing and shipping a physical sample takes about 7–14 days, depending on your location and the shipping method. While it adds time to the process, this step is essential for guaranteeing the quality of your final order.
Yes, soy-based ink is a widely used eco-friendly and non-toxic option for many types of packaging and printed products, including logo printed filter tips. However, you should always verify this with your supplier and ask for a Material Safety Data Sheet (MSDS) to confirm its safety.
Creating professional logo printed filter tips that elevate your brand comes down to managing the details. It’s not complicated once you know what to focus on. By providing a sharp vector file, specifying your exact brand colors with a Pantone (PMS) code, confirming the use of safe inks, and—most importantly—never skipping the physical sample approval, you eliminate the risks of errors and delays. This proactive approach ensures your investment results in a high-quality product that you and your customers will love.
If you’re ready to create custom filter tips and want a partner who can guide you through every step of this process, we’re here to help. Contact us today to discuss your project, and let’s make sure your brand looks its best.